This article details the steps needed to successfully configure the Remote Desktop Connection for a Macintosh computer.
This process will require you to enter your Right Networks password. If you are not sure what your Right Networks password is, you can reset if by following this link: Reset Right Networks Password.
You will need to be logged out of Right Networks in order to complete this process.
1. Download the Macintosh Setup Wizard from Right Networks: Mac OS Setup Wizard.
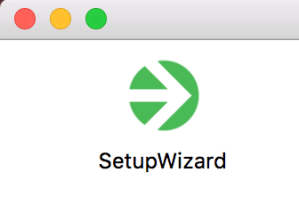
This will download the Setup Wizard to your Downloads folder as a *.dmg file with the Right Networks logo:
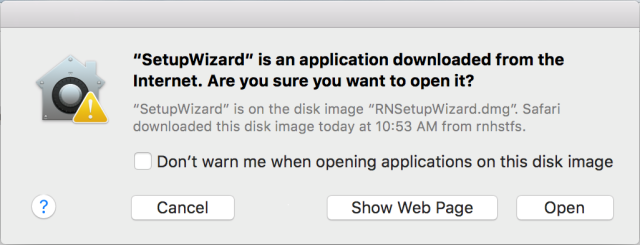
2. For most Mac setups, you will receive a warning that this application was downloaded from the Internet. Click Open to continue.
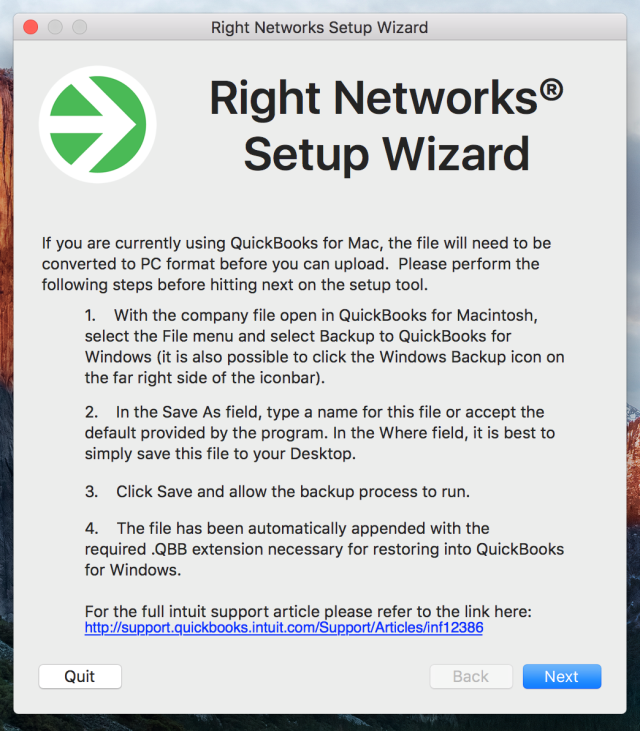
3. The initial page of the Setup Wizard will provide instructions in case your QuickBooks files are in the QuickBooks for Mac format.
Since your files are likely already uploaded to your Right Networks drive, you can skip this step by clicking Next.
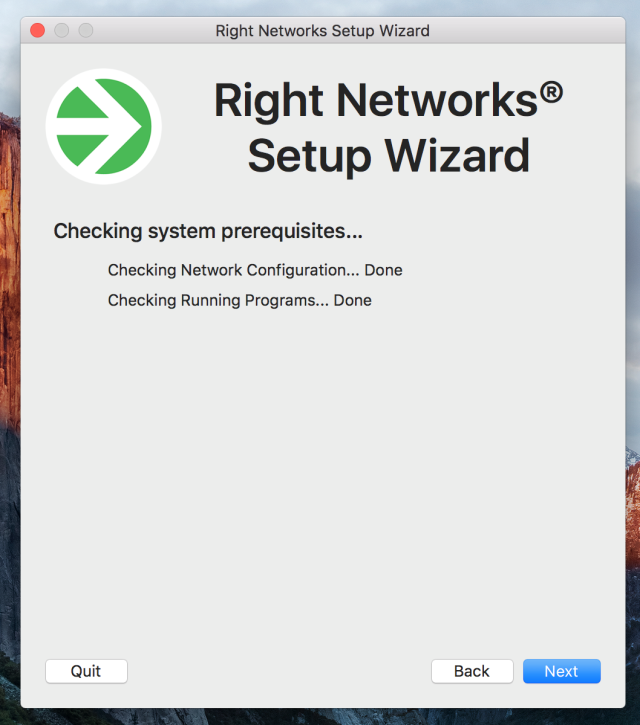
4. The Setup Wizard will begin preparing your computer to log in.
5. You will be prompted to answer some basic questions:
Do you want to upload files?
Since you have already been set up to access Right Networks in the past, it should be perfectly safe to choose No. Only choose Yes if you have new QuickBooks files that have not been used on Right Networks before.
Do you want this Application to search for QuickBooks files on this computer to upload?
If you said No to the previous question, this question will be inaccessible.
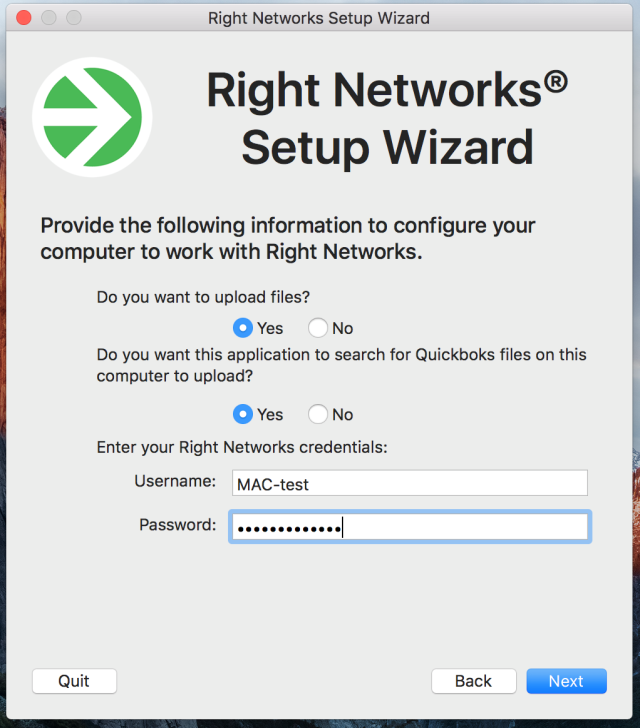
To proceed to the next stage of the setup, enter the Right Networks credentials which were supplied in your Right Networks Welcome Email.
If you are not sure what your Right Networks password is, you can reset it by following this link: Reset Right Networks Password.
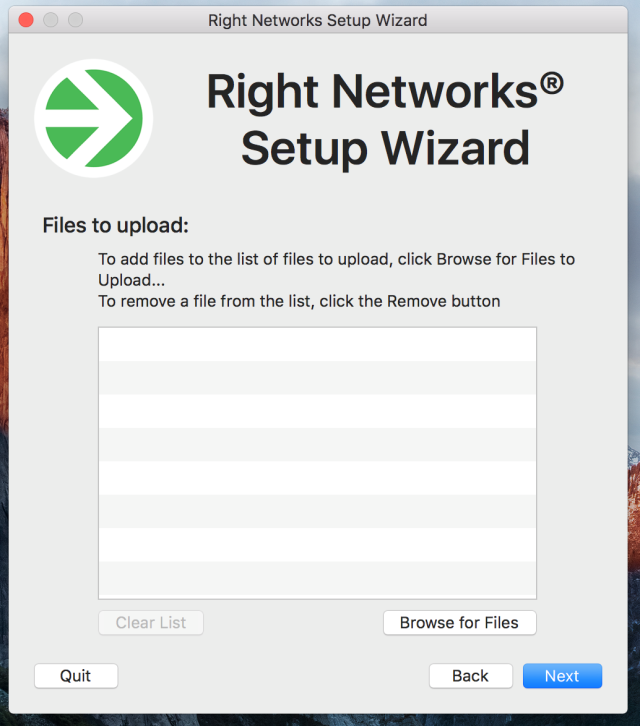
6. If you chose to upload files, the next screen will prompt you to add or remove files to the list for upload. If you chose to have the Setup Wizard find files for you, they will be listed here.
You can add and remove files to refine this list before continuing.
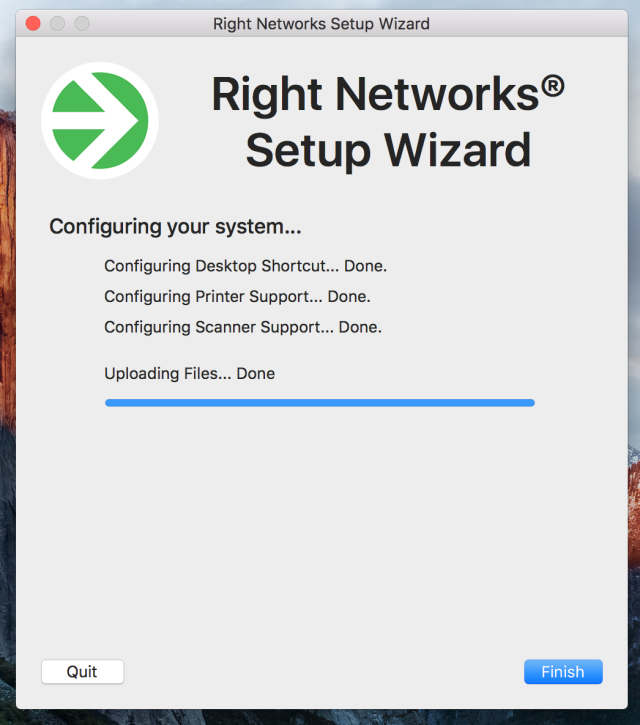
7. The Setup Wizard will now configure your Mac to log in. It will perform the following tasks automatically:
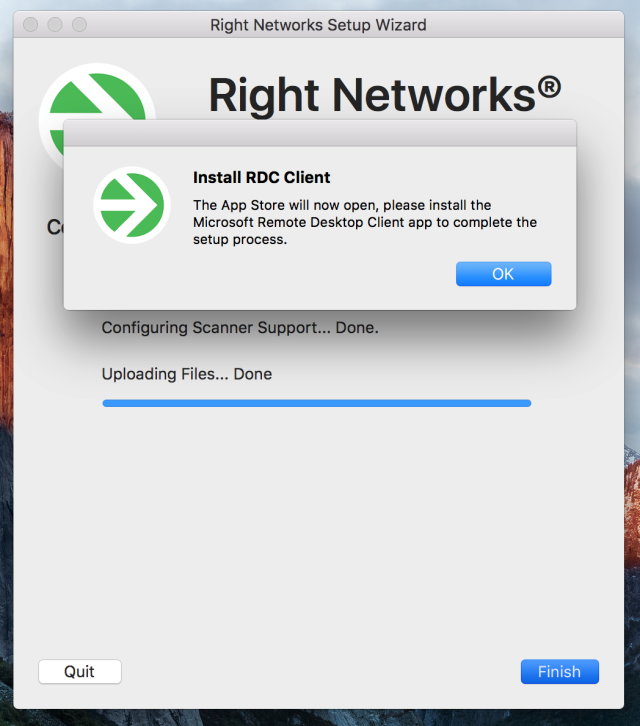
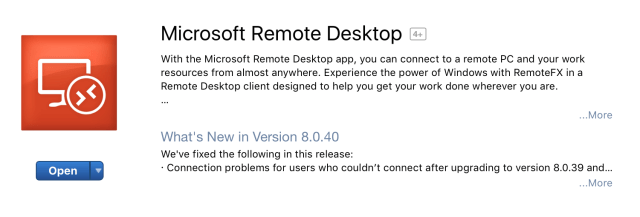
8. Once the Setup Wizard process is complete, the Setup Wizard will prompt you to download and install the Microsoft Remote Desktop Client. Click OK to automatically open the Mac App Store to complete this step.
9. You will be taken directly to the download page for Microsoft Remote Desktop Client. Click Get or Install.
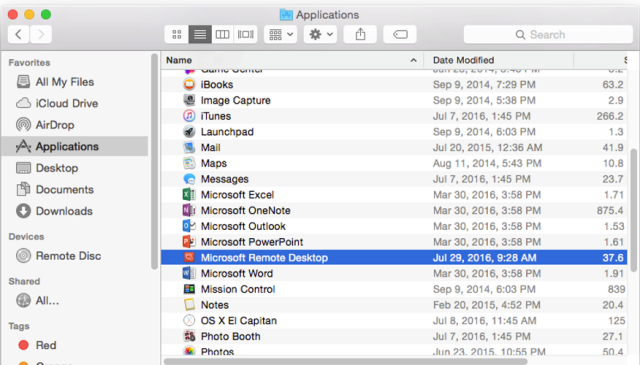
10. Once installed, go to your Applications folder and find Microsoft Remote Desktop.
Note: It may be located at the end of the applications since this was the last item downloaded.
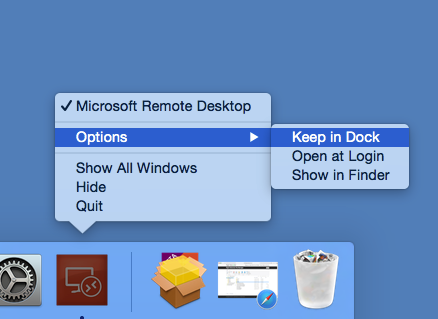
11. Double-click the Microsoft Remote Desktop icon to Launch Microsoft Remote Desktop.
Note: (Optional) Right-click on the Microsoft Remote Desktop icon in the dock, highlight Options and select Keep in Dock.
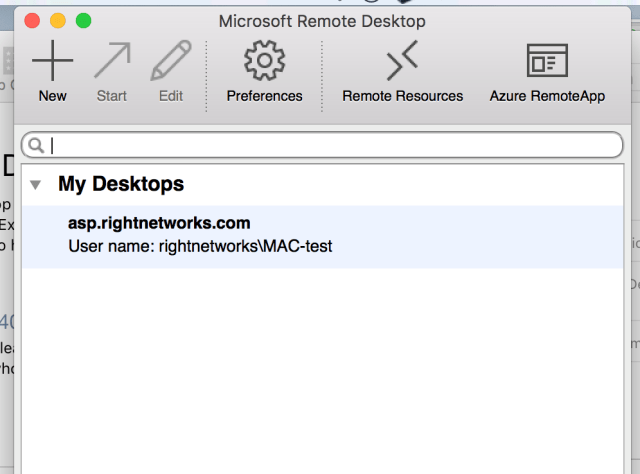
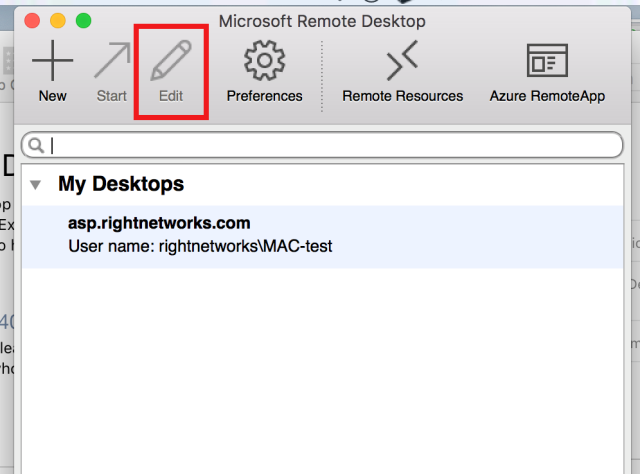
12. You will see the Right Networks profile in the list; this is the profile that was created for you by the Setup Wizard. Double-click on the profile to log in.
Note: It may not read exactly as below, possibly displaying an address other than asp.rightnetworks.com. The system will assign the correct login address based on your Right Networks login credentials.
13. You will be prompted to enter your Right Networks password to continue:
If you are not sure what your Right Networks password is, you can reset if by following this link: Reset Right Networks Password.
You are now connected to your hosted desktop!
Highlight your connection in the Microsoft Remote Desktop application.
Select Edit.
Enter your password in the Password field.
Close the window by clicking the red X in the upper left-hand corner.
Double-click on the new connection in order to access Right Networks.

Join our mailing list and get all of the latest news delivered straight to your inbox.